This post records how, while building an RPG prototype in Unity, I integrated character animation, effect systems, combo mechanics, and shader implementation into a cohesive battle scene. Through diagrams, code snippets, and animation breakdowns, I’ll share what I learned through hands-on experimentation.
Preface: This Isn’t Just Testing Hit Effects—It’s an Experiment in Interactive Rhythm
I’ve always been hypersensitive to “action rhythm” and “impact feel.”
It’s not because I’m good at fighting games, but because I always imagine: what if, when a character attacks, the screen could pause, give feedback, or even have a certain atmosphere—wouldn’t that feel more real than just seeing a damage number?
That’s why I started making this prototype. I wasn’t aiming to finish a full game, but to construct a system that could hold all the elements of impact design, skill effects, animation combos, feedback, and visual clarity. What follows is a record of my development process.
Part 1: From Animation Design to Combo Flow—How I Structured Character Attacks

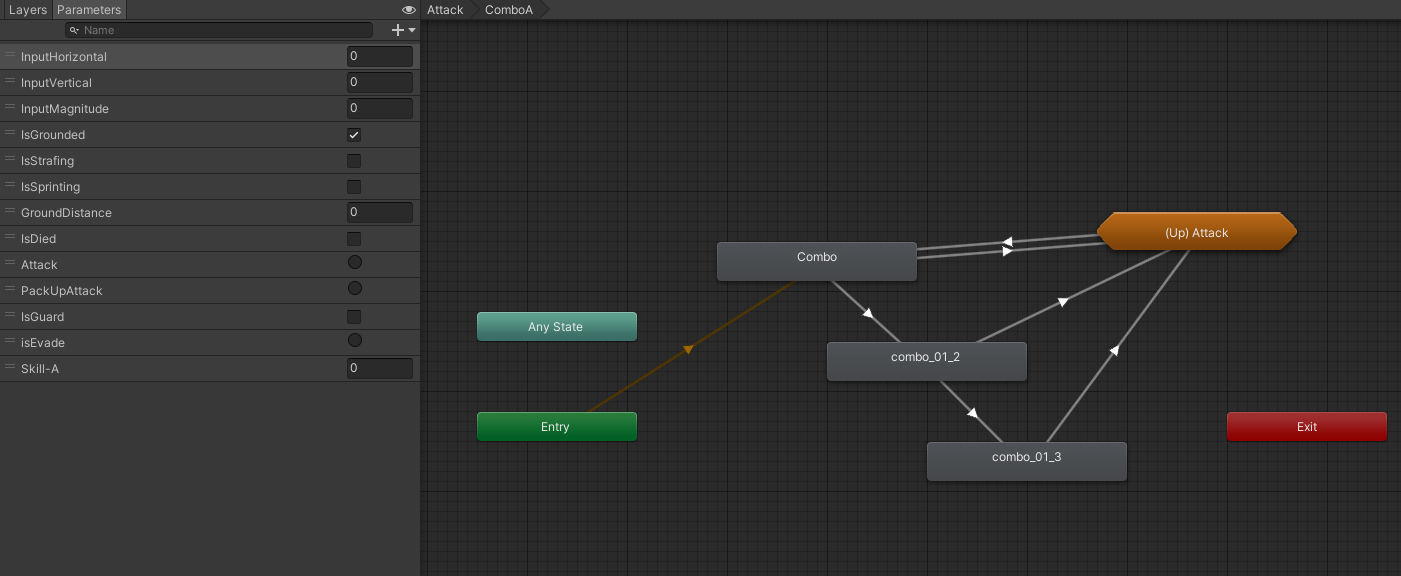
Instead of starting from animation design, I began by imagining the rhythm of a three-hit combo in my head:
- The first hit is quick, not heavy.
- The second hit can link up, but with a slight delay.
- The third hit pauses for dramatic effect and visual “pop.”
I used Unity’s Animator to assemble different states and set up a combo buffer and animation tags to judge input timing, making chaining natural and error-tolerant. The idea wasn’t just to “play animations,” but to keep the logic between inputs and rhythm under control and visualized.
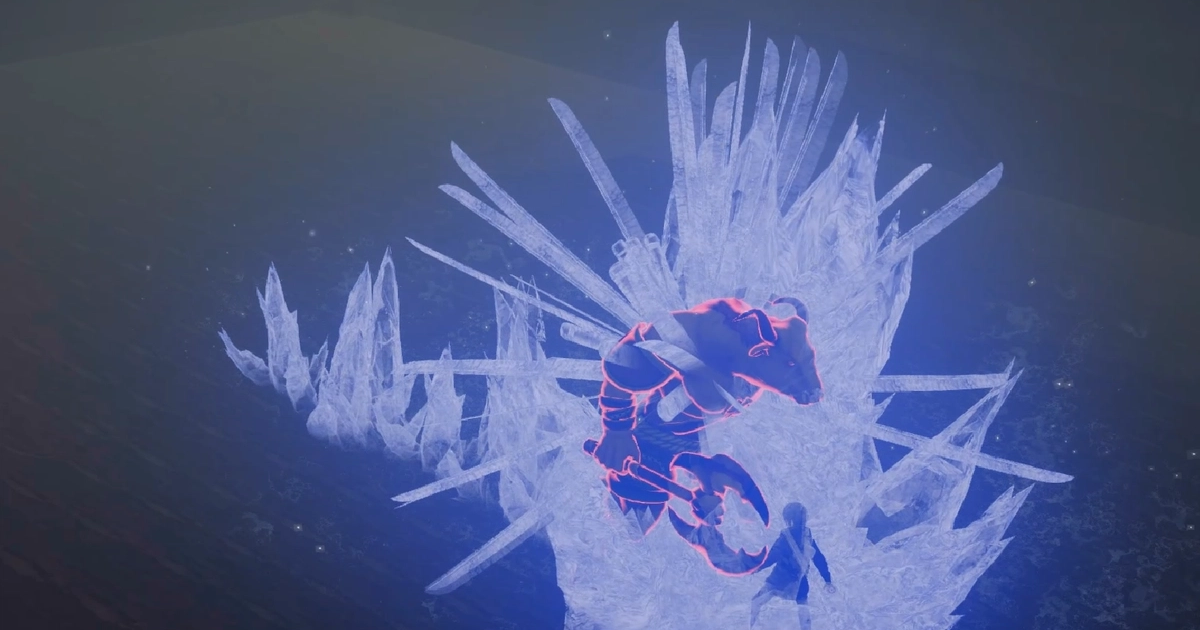
Part 2: Impact Isn’t Just About Visuals—How I Handled Dash and Magic Effects
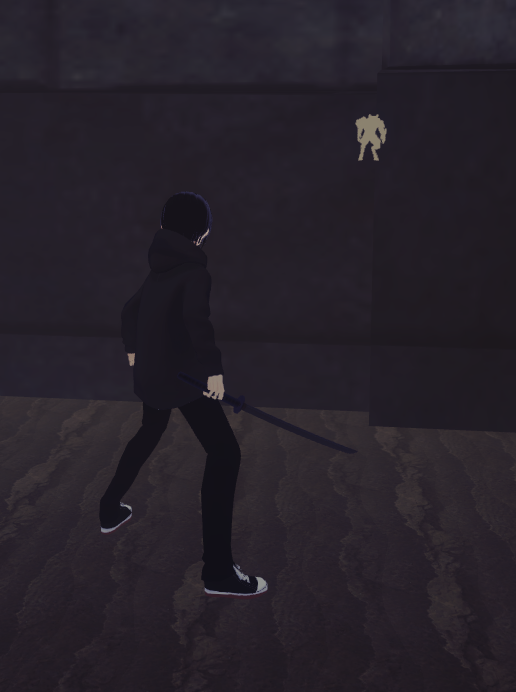
When developing the dash attack, I realized just moving the character didn’t convey the feeling of “dashing through” the enemy. So I added:
- A fisheye-style camera shader to create a sense of compressed space,
- A sword trail shader for afterimages,
- Hitstop for that “frozen hit” sensation,
- Sound effects and knockback timed together for a sharper sense of contact.
I also tried a “spatial magic” effect—letting the enemy phase through walls, using a custom shader to display their silhouette behind obstacles, as a foundation for future environment-based magic skills.
Part 3: Character Modeling—No Asset Store: I Drew the Hair and Textures Myself
Drawing the main character’s hair
How I painted the face texture
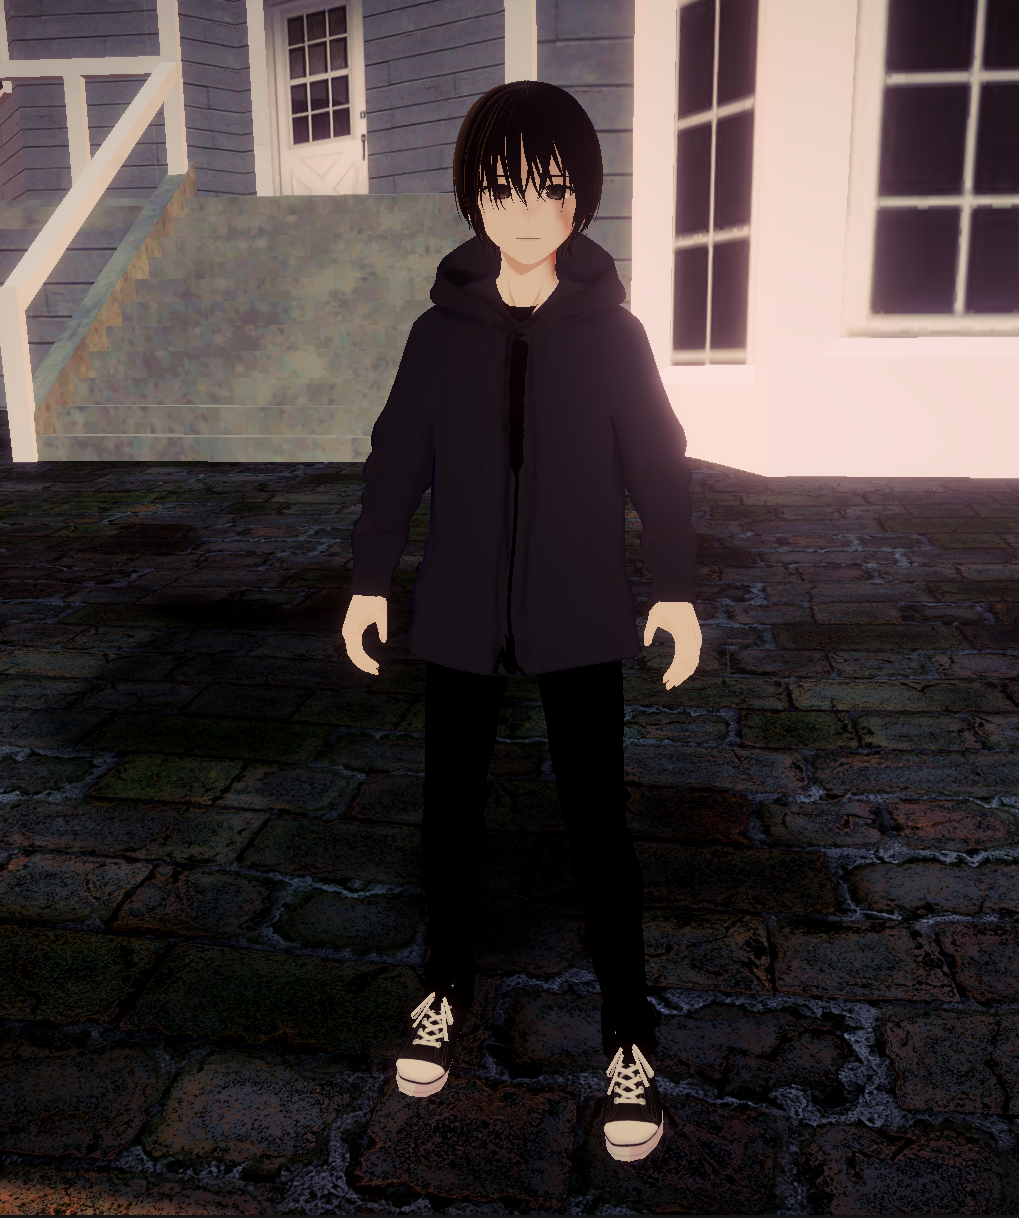
Finished version
I’m not an artist, but I wanted my protagonist to have more personality than just a default model—I wanted them to reflect my own ideas.
So I used Vroid Studio for the first time, painting hair layer by layer and designing custom textures.
Layering the hair actually feels a lot like building a character: deciding where the rhythm should be, which edges should be neat, where to express personality. For me, that’s also a part of “impact and rhythm”—just visualized on the character itself.
Part 4: For Maintainability—I Designed a Simple Yet Expandable Battle System
void Attack()
    {

        #region Target Direction

        CamFwDIr.position = PlayerFwDir.position;

        Target = new Vector3(CamFwDIr.position.x, transform.position.y, CamFwDIr.position.z);
        Target = _camControll.lockOn ? GameObject.Find("MonsterTargetLocator").transform.position : Target;

        #endregion


        #region Get Input

        if ( Input.GetKeyDown(AttackInput))
        {
            // Return Varible
            _movementControll.stopMove = true;
            StopDashAttack = false;
            shakeCD = false;
            for (int i = 0; i < IceMagicColl.Count; i++)
                IceMagicColl[i].enabled = true;

            // MaterialChange
            MaterialChange(0);

            // Action
            anim.SetTrigger("Attack");
        }

        #endregion


        #region Dash Attack
        //Dash Attack
        if (anim.GetCurrentAnimatorStateInfo(1).IsName("DashAttack") && !StopDashAttack)
        {
            DashStart = true;

            if (_camControll.lockOn)
                transform.DOMove(Target, DashAttackTime).SetId<Tween>("DashTargetAttack");

            else if(_camControll.saveClosestEnemy != null && Vector3.Distance(this.transform.position, _camControll.saveClosestEnemy.transform.position) < DashAttDistance)
                transform.DOMove(_camControll.saveClosestEnemy.transform.position, DashAttackTime).SetId<Tween>("DashTargetAttack");

            else
                transform.DOMove(transform.position + transform.forward * DashAttackRange, DashAttackTime).SetId<Tween>("DashAttack");

        }

        #endregion


        #region Cancel Event

        if (DashStart && Vector3.Distance(this.transform.position, Target) < 1.55f) //Input.anyKey && DashStart && isAttack ||
        {
            stopDashAttack();
        }

        if(Input.anyKey && !camSwitching)
        {
            CamSwitch(100);
        }

        #endregion


        #region Get Hit Singal

        if (isAttack)
        {
            if (!shakeCD)
            {
                camAni.Play("AttackCamMovement");
                shakeCD = true;
            }
            DashStart = false;
            SwordCollider.enabled = false;
            for (int i = 0; i < IceMagicColl.Count; i++)
                IceMagicColl[i].enabled = false;

            isAttack = false;
        }

        #endregion

    }
Here’s the content of the Attack function
 #region Attack Values

 [Header("- Dash Attack Values")]
    [Foldout("- Attack Values")]
        public float DashAttackRange;
    [Foldout("- Attack Values")]
        public float DashAttackTime, DashAttDistance;

[Header("- Attack Effect Values")]
    [Foldout("- Attack Values")]
        public float AttackMaterialTimes;

    [Foldout("- Attack Values")]
        public int[] SKillCharge;

 [Header("- Get Signal")]
    [Foldout("- Attack Values")]
        public bool isAttack = true;
        bool DashStart = false;
        bool IsGuard = false;
        bool StopDashAttack = false;

    //Get Correct direction
    Transform PlayerFwDir, CamFwDIr;
    Vector3 Target;

    #endregion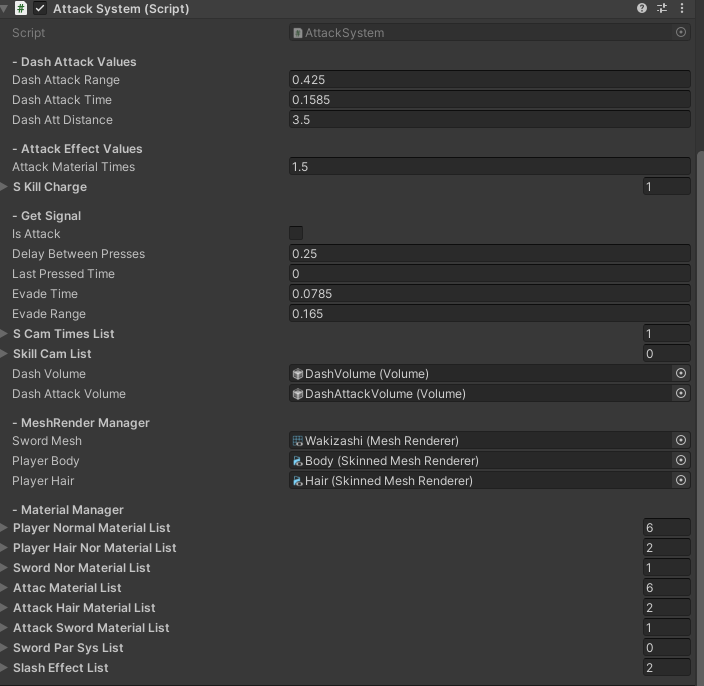
Inspector parameters for a smoother and more maintainable workflow
Instead of hardcoding a single fighting character, I thought about how to build a reusable combo/skill system.
Key points:
- Combo system and input judgment are independent, so different characters can share the same input logic,
- Skill execution is stored as ScriptableObjects, allowing new skills to be added dynamically without rewriting code,
- Enemy reactions (hitstun / state changes when hit) are a separate reaction system, making it easy to add effects and combo interactions,
- All hit detection and reactions can be reused for any character—just swap out the animation or timings.
These four code sections became a sort of “core battle language”—each time I create a character, I can piece together a fighting style like building sentences, not rewriting everything from scratch.
Closing: This Isn’t a Product—It’s a Practice in Understanding Rhythm and Feel
I don’t plan to turn this demo into a finished game, but I do want to use it to build my sense of character movement, skill design, and scene rhythm.
Impact isn’t just about adding effects and sounds—it comes from input rhythm, enemy reactions, animation transitions, and layered visual feedback.
This is my current understanding of “battle systems,” and my first action development project that reflects my own logic and style.
Next: For a deep dive into dash attack shaders and animation integration, check out the follow-up post
→ Dash Attack & URP Shader Demo